KTechLab: Simulating PIC microcontroller and a program running on it
Initially posted at Tue, 05 Sep 2017 22:30:00 +0000
KTechLab is capable of simulating not only circuits, but circuits containing PIC microcontrollers with a program running on it.
This blog post explains how to set up and use KTechLab for simulating PIC programs with circuits. I have performed the steps from this guide in Xubuntu 14.04 and 16.04, 32 bit versions. Other Linux distributions should work, too.
As prerequisites, the following are needed:
- latest KTechLab (from the time of writing), with PIC support compiled in.
To enable PIC support, make sure that the packages
gpsim-devandlibglib-2.0-devare installed on your system before compiling KTechLab. gputilspackagesdcc(Small Device C Compier) with compiler and library support for PIC microcontrollers. Because PIC libraries in SDCC contain files with non-free license, the version of SDCC packaged in Debian, Ubuntu and possibly other Linux distributions does not include complete PIC support libraries. I recommand to install a “complete” SDCC, with complete PIC support enabled.
Install SDCC with complete PIC libraries
If you are using Debian or Ubuntu, then you should install a new SDCC, because the packaged one does not contain “complete” PIC support.
To test if the SDCC installed on your system has complete PIC support,
try to run the script from KTechLab source tree at
examples/pic_blink/build.sh.
This script tries to build a simple C program with the system-default SDCC.
If you have SDCC installed, and the script signals compilation error,
then the installed SDCC does not have complete PIC support enabled.
Download SDCC 3.3.0 (I have tested only this version; newer versions might work) from sourceforge: https://sourceforge.net/projects/sdcc/files/sdcc-linux-x86/3.3.0/ and and extract it into a directory on your system.
In this guide I’m using ~/.opt/sdcc-3.3.0.
Thus the installation prefix for SDCC in this case is ~/.opt/sdcc-3.3.0.
To validate the new compiler, in KTechLab source directory edit the script
examples/pic_blink/build_custom_sdcc.sh
so that at line 8 the path to point to the installation prefix of the newly
extracted SDCC:
local SDCC_INSTDIR="$HOME/.opt/sdcc-3.3.0"
Run the script; it should signal success.
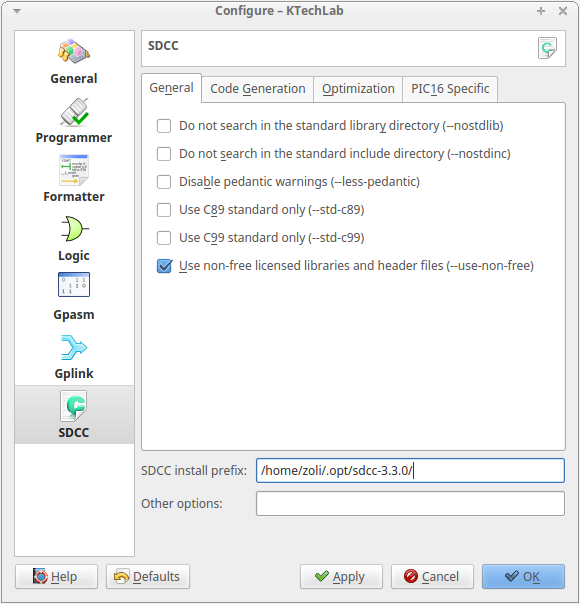
In KTechlab set the newly installed compiler’s path
Start KTechLab, in the menu go to Settings -> Configure KTechLab,
then in the newly opened window go to the SDCC tab,
and at the bottom in the SDCC install prefix
write the installation prefix of SDCC
(for example /home/zoli/.opt/sdcc-3.3.0/).
Create a project
This is needed because KTechLab needs to identify the PIC microcontroller in use.
At the time of writing, only the default one, P16F84, is supported.
In the menu, go to Project -> New Project....
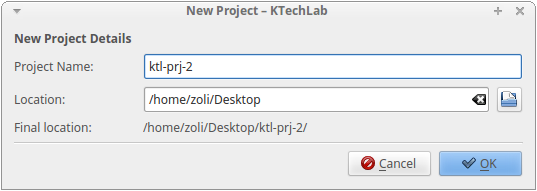
Select name and path for the project and click OK.
Create a circuit
Then in the menu, select File -> New File... -> Circuit
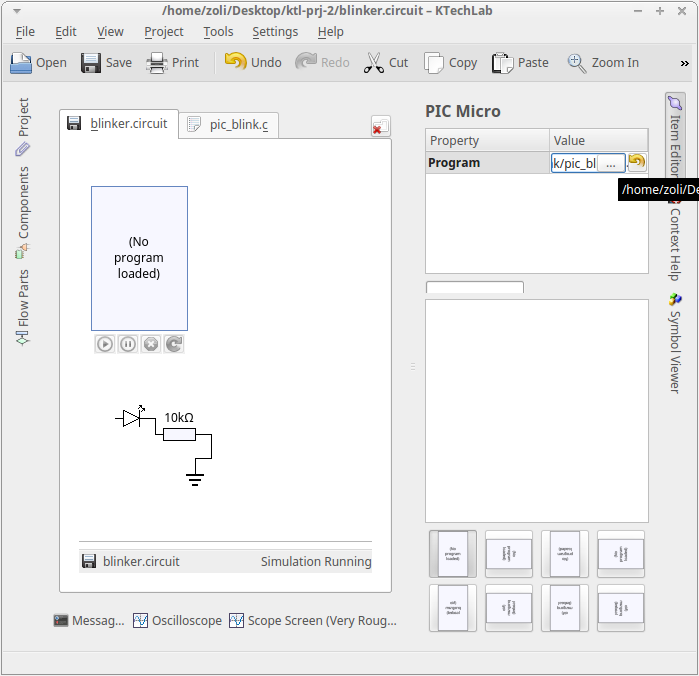
and draw the circuit with the PIC.
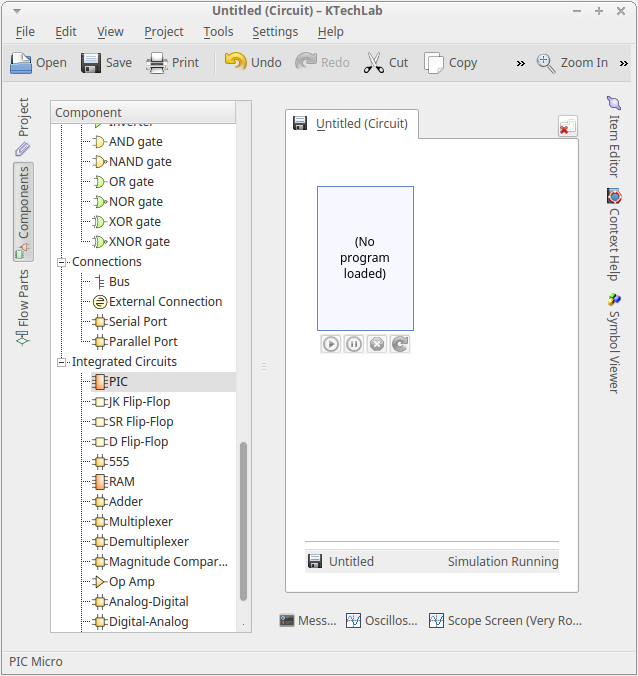
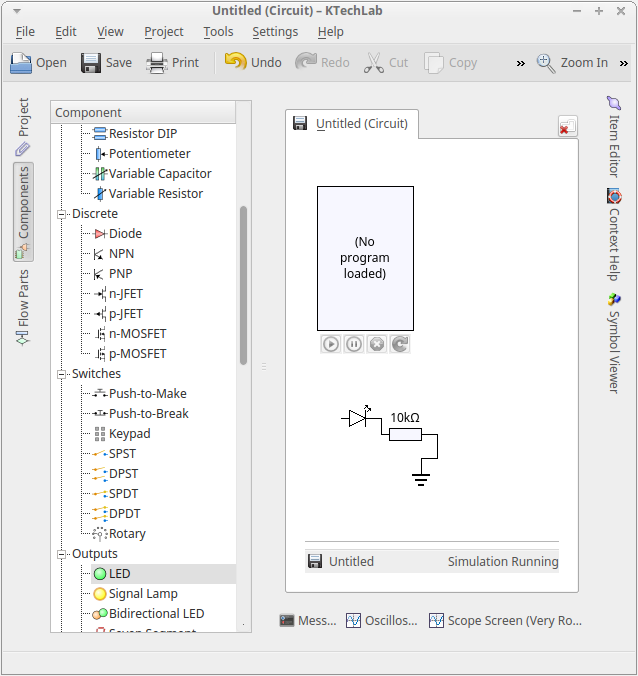
Please note that pins of the PIC will only appear after a program has been loaded on the PIC.
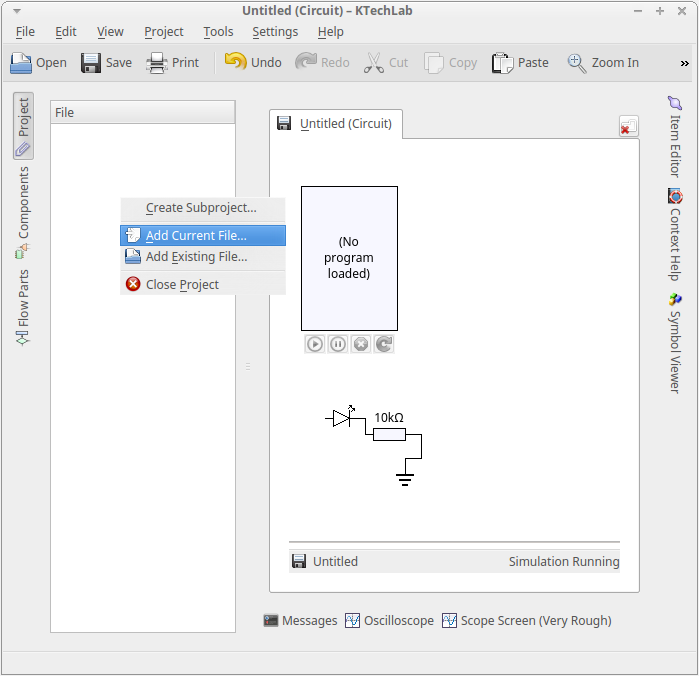
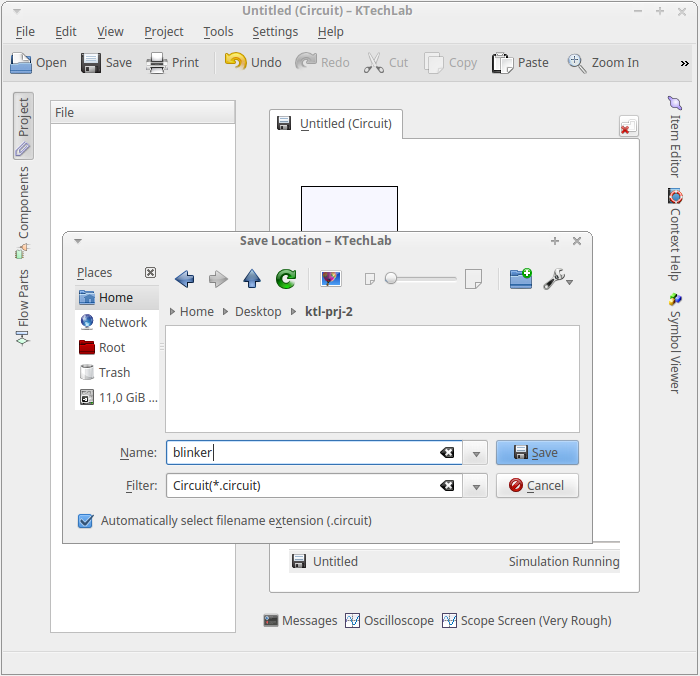
Add circuit to the project and save it
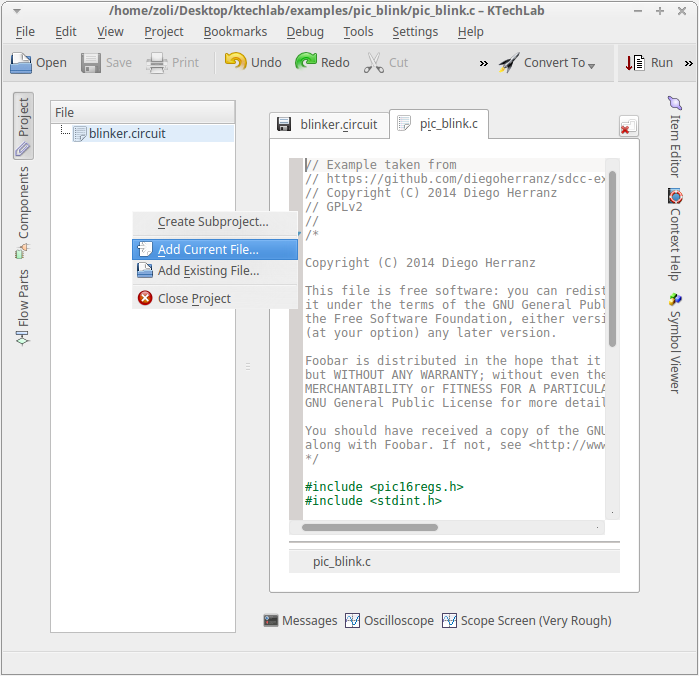
Create a C program for PIC in KTechLab
For simplicity, in this guide I use the example file from KTechLab sources
examples/pic_blink/pic_blink.c.
Open the sample C program with File -> Open....
Add the PIC program to the project
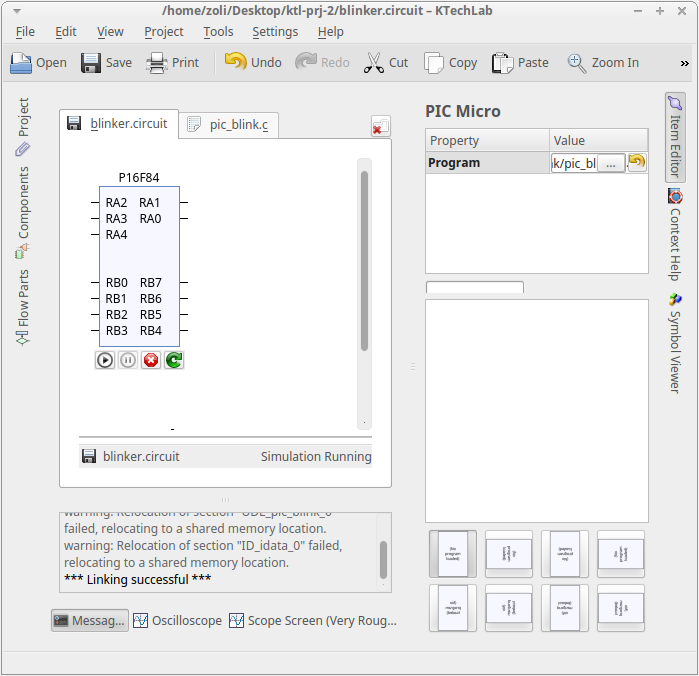
Load the C program to the PIC
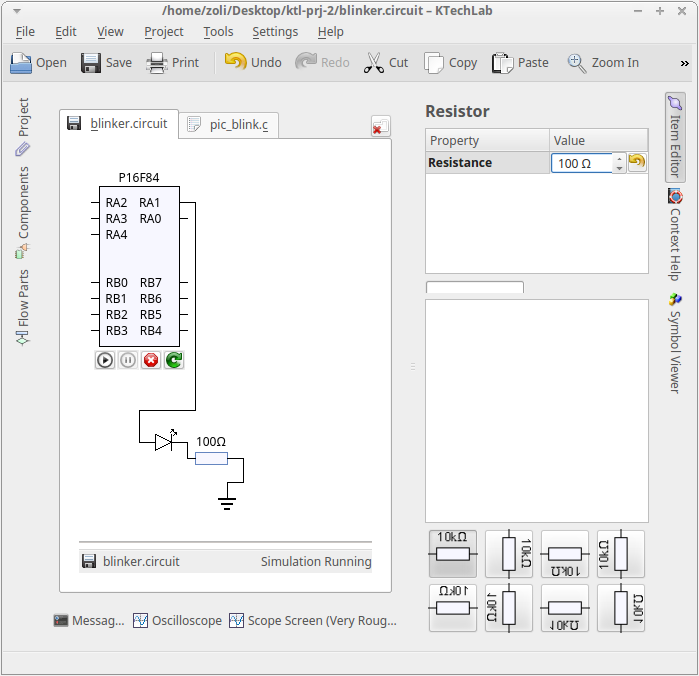
Fix up the circuit and run the program
Click the small Play > button below the PIC.
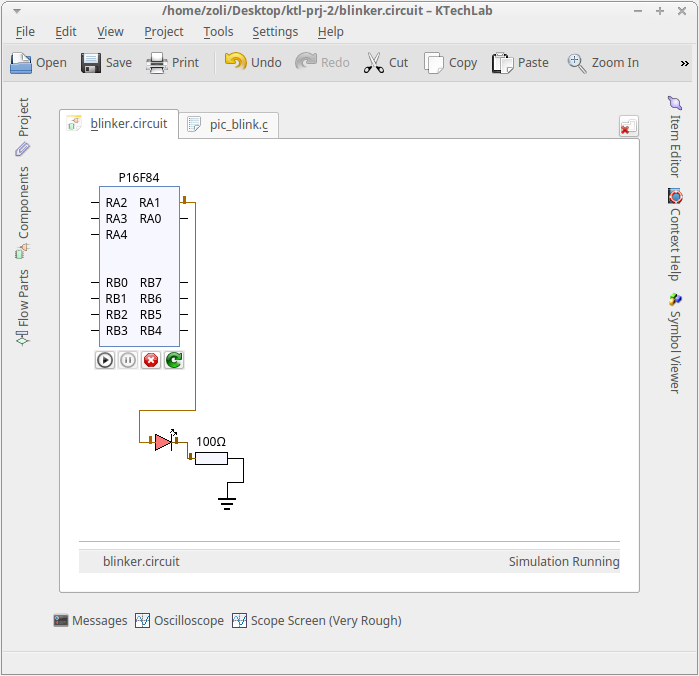
That’s it! The C program is running on the simulated PIC.
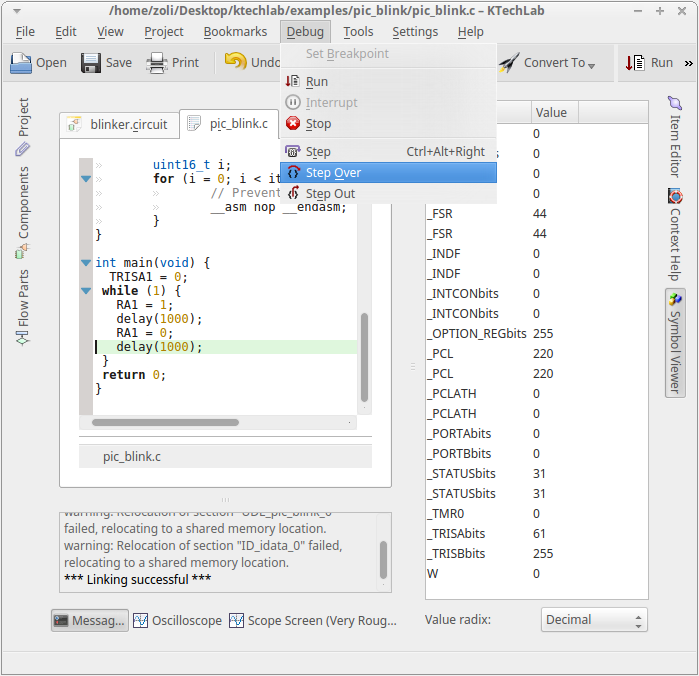
Extra: Debugging the program runnig on the PIC
Switch to the C program’s tab, and from the Debug menu select Run.
You will be able to step through the C program, and in the meantime
observe the status of the circuit in which the PIC is placed.
Categories
KdeKtechlab